How to Make Your First Game — A Step-by-Step Roadmap
A practical roadmap for your first game, from a one-line idea to a playable web build, using AI Game Developer and Three.js as the fastest, cheapest start.
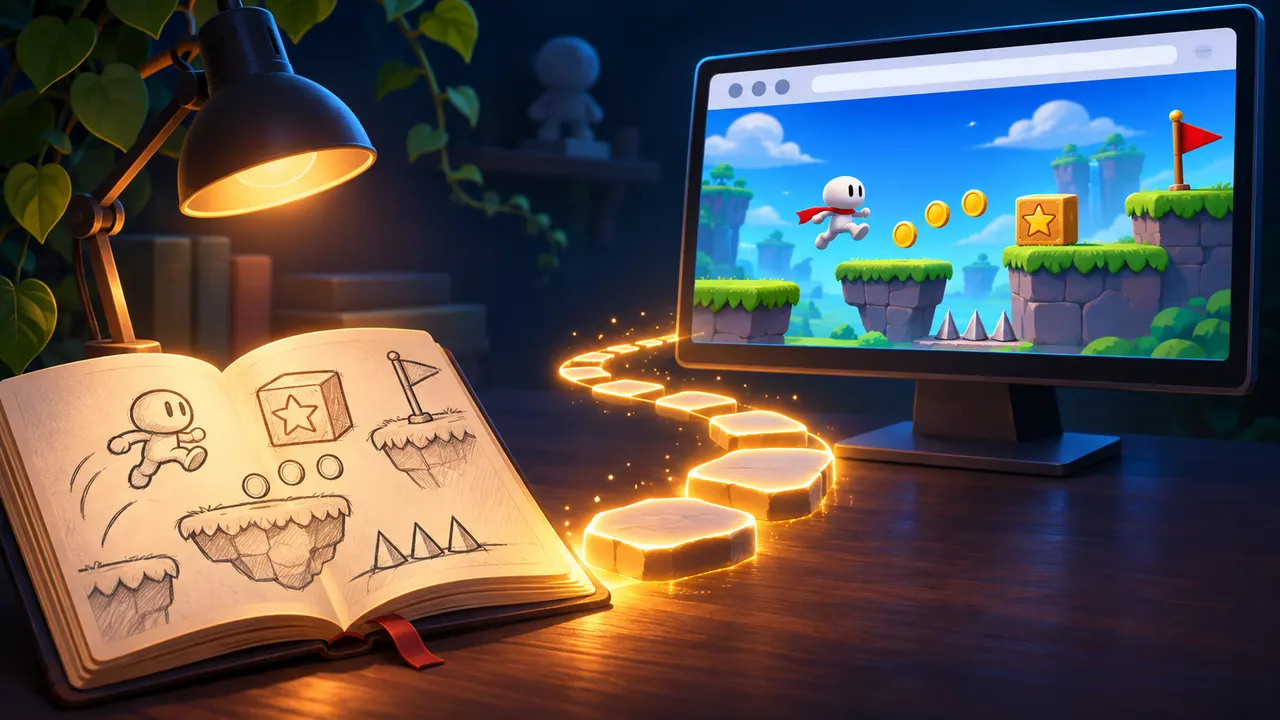
To make your first game, pick one tiny idea you can finish, build it in a tool that gets out of your way, play it every few minutes, and publish it somewhere other people can click it. That is the whole roadmap. In our experience the fastest and cheapest way to walk it in 2026 is a web game made with Three.js inside AI Game Developer, our free desktop app with a built-in AI agent: there is no engine to install, the game runs next to the chat, and the finished game is a web page anyone can open.
This post is the step-by-step version. It works without AI too, but every step shows where an agent saves you the most time, and where you still need to make the decisions yourself.
Step 1: Pick an Idea Small Enough to Finish
Most first games are never finished, and the reason is almost always scope. A first game is not your dream game. It is the game that teaches you how a game is put together: input, rules, feedback, a start and an end.
A good first game fits these limits:
- One core mechanic you can describe in a sentence: jump between platforms, dodge falling rocks, steer a boat through gates.
- One screen or one short level.
- One way to lose and one way to win or score.
- Two to five minutes of play.
- No multiplayer, no inventory, no story branching, no save system.
If you need inspiration, take a classic and change one thing. Breakout where the paddle is a planet's orbit. A runner where gravity flips. Asteroids on a small floating island. Write the result as one sentence and keep it in front of you. Everything that does not serve that sentence goes on a "later" list.
Step 2: Choose Your Tools
For a first game, the best tool is the one with the shortest path from an idea to something moving on screen. Here is how we would choose:
- If you want the fastest and cheapest start, pick Three.js in AI Game Developer. A game is TypeScript code in a browser page, every change reloads in a moment, and you can share it as a link.
- If you already know you want a large 3D game for PC or consoles, pick Unity or Unreal Engine, and expect a longer setup and a heavier editor.
- If you want a free, lightweight editor with a scene view, pick Godot.
- If you love Rust or C#, Bevy and BRUTAL are supported in the app too, but they assume you are comfortable with a compiler.
Our recommendation for a first game is the first option, and the reasons are practical. You do not install an engine. The app downloads and checks its own Node.js, so you do not install that either. The game runs in a live panel beside the chat, and the agent can see it, play it with real input and take screenshots. And a web game costs nothing to publish.
The honest trade-offs: Three.js is a rendering library, not a full engine, so there is no visual scene editor and no built-in physics or asset store. The agent adds libraries when your game needs them, but you work with code and with the running game, not with drag and drop. For a first game that is a feature: there is less to learn before the fun part. If your second game needs an editor, the skills carry over, and the same app works with Unity, Godot and Unreal Engine (ai-game.dev/engines/unity, ai-game.dev/engines/godot).
What It Costs
The app is free with no expiry date. On the free plan you bring your own AI agent, such as Claude Code, Codex or GitHub Copilot, and pay that provider directly. Paid plans add hosted AI models inside the app, image, audio and 3D generation and higher limits; the Indie plan starts with a 7-day free trial. Details are at ai-game.dev/pricing.
The model matters for cost. DeepSeek V4.1 Flash comes close to Claude Opus 5.5 on game code at about 65 times lower cost in our usage, and a small web game with short, focused requests is exactly where a cheap, fast model shines. The comparison is at ai-game.dev/blog/best-ai-model-for-game-development.
Step 3: Set Up Your First Project
Setup takes a few minutes:
- Download AI Game Developer from ai-game.dev/download and sign in (the guide at ai-game.dev/docs/app covers both).
- Open the create project dialog and pick Web (Three.js).
- Choose a starter. Empty gives you a blank canvas, a scene, a camera and the frame loop. Studio, Blueprint, Checker and Island are sample scenes to build on.
- Press Play. A progress card shows the Node.js check, the dependency install and the dev server start, then the game opens in the game panel.
If you prefer the terminal, the AI Game Developer CLI creates the same project:
/create-project threejs my-first-game --starter emptyYou can also simply ask the agent in a chat to create a three.js game. All three paths produce a three.js + Vite + TypeScript project with nothing extra in it. For a first game we suggest Empty if your idea has its own look, and Checker if you want a floor, axes and simple shapes to orient yourself. The starters are described in detail at ai-game.dev/blog/threejs-game-development-with-ai.
Step 4: Write a One-Page Game Design
Before the first feature, write down what you decided in Step 1, in a few lines:
- The one-sentence pitch.
- Controls: which keys or touches do what.
- The rules: how you score, how you lose, how you win.
- The look: two or three words, such as "low-poly, pastel, dusk".
- The "later" list.
Put it in your project's Knowledge Base, the folder of Markdown notes the agent reads in every session (ai-game.dev/blog/game-project-knowledge-base-for-ai). Then you do not explain the game again in each chat. It also keeps you honest: when a new idea shows up, it goes on the later list, not into the game.
Step 5: Build the Core Loop First
The core loop is the thing the player does over and over. Build only that, with grey boxes, before any menus, art or sound. The order that works for us:
- Something the player controls moves on screen.
- The obstacle or goal exists and reacts to the player.
- Losing works and the game restarts.
- A score or timer shows progress.
Give the agent one step per request and describe the result you want to see, not the code. For example: "Add a cube the player moves left and right with A and D, kept inside the floor. Then play it for two seconds and show me a screenshot." Because the agent can press keys and look at the canvas, it checks its own work before it answers.
For anything that touches several systems, such as "add a dash with a cooldown", switch on plan mode. The agent reads the project, asks the design questions only you can answer, and shows a plan you approve before it edits a file. The walkthrough is at ai-game.dev/blog/plan-mode-ai-agent-game-development.
Edits hot-reload, so play after every change. If a change does not compile, the page keeps the last good build and the agent sees the error. Commit to Git whenever the game is in a good state: a first game breaks often, and going back one step is cheaper than debugging three.
Step 6: Make It Feel Good
Once the loop works, spend time on how it feels. This is where a grey-box prototype becomes a game, and it costs little code:
- Tune the numbers: speed, jump height, gravity, spawn rate. Ask the agent to keep them in one settings object, so you can tweak them yourself.
- Add feedback for every action: a small screen shake on a hit, a flash on pickup, a short particle burst on game over.
- Make difficulty ramp up slowly over the run.
- Make restarting instant. Players forgive losing; they do not forgive waiting.
Change one number at a time and play after each change. You are the one who decides whether it feels right; the agent is quick at trying variants.
Step 7: Playtest With the Agent and With People
Two kinds of testing catch different problems.
The agent catches the mechanical ones. In a Web (Three.js) project it can run a playtest: a scripted sequence of input, frame steps, checks and screenshots that ends in a PASSED or FAILED report. Ask it, for example, to check that the player can still reach the last platform after you raised the gravity, or that the score resets on restart. Keep the playtests and rerun them after big changes.
People catch the human ones: controls nobody understands, a level that is too hard, a goal that is not clear. Watch two or three friends play without explaining anything, and write down where they get stuck. If your phone is paired with the app, you can play the running game on it too, which is a quick way to test touch controls.
Step 8: Add Art, Sound and a Menu
Now, and not earlier, replace the grey boxes. For a first game, keep the style simple and consistent: flat colours and low-poly shapes look good in three.js and age well.
- Art: use free asset packs with a clear licence, or generate images, textures and 3D models in Asset Studio, the app's generation tab (ai-game.dev/blog/ai-asset-generation-asset-studio). Generation in the app needs a paid plan, or you can run models on your own GPU.
- Sound: a jump, a hit, a pickup, game over and one music loop are enough. Asset Studio also generates sound effects and music.
- Menu: a title screen with Play, a game over screen with the score and Restart, and a mute button. That is all a first game needs.
Whatever you use, write down where every asset came from and under which licence. You need that list when you publish.
How to Make Your First Game Playable for Everyone
A game nobody plays is a prototype. Publishing is the step that turns it into your first game, and for a web game it is free.
Build the production version from the project folder. Vite writes a folder of static files that any web host can serve:
npm run buildThe output goes to the dist folder. As of November 2026, these are the simplest places to put it:
- itch.io: zip the contents of dist (index.html must be at the top of the zip), create an HTML project and upload it. itch.io limits a web game to 1,000 files and 500 MB after extraction, with no single file over 200 MB, and it needs relative paths, so set base to "./" in vite.config.ts before you build. If the game works on phones, tick Mobile Friendly in the embed settings.
- GitHub Pages: push the build to a repository and serve it. For a project page, the site is served from a subfolder named after the repository, so Vite's base must be that repository name between two slashes (example below).
- Netlify, Vercel or Cloudflare Pages: point them at the repository, set the build command to npm run build and the output folder to dist.
For a GitHub project page, the setting in vite.config.ts looks like this:
// project page at your-name.github.io/your-repo
import { defineConfig } from "vite";

export default defineConfig({ base: "/your-repo/" });
Then post the link where people who like your kind of game hang out, and ask one concrete question, such as "was the third wave too hard?". You get far better feedback than from "what do you think?".
Step 9: Look Back, Then Start the Second Game
When the game is out, spend half an hour on a short look back:
- What took much longer than you expected, and why?
- What did players enjoy that you did not plan?
- Which item on the later list would you actually add?
Then decide: either one small update with the best item on that list, or a new, slightly bigger game. A finished small game teaches you more than an unfinished big one.
A Checklist for Your First Game
- One sentence describes the game, and a later list holds everything else.
- The project runs and you can press Play.
- The core loop works with grey boxes: move, react, lose, restart, score.
- The numbers are tuned and every action has feedback.
- Two or three people played it without help.
- Art, sound and a simple menu are in, with every asset's licence written down.
- A production build is published at a link you can share.
Get Started
Download AI Game Developer from ai-game.dev/download, create a Web (Three.js) project from the Empty or Checker starter, and ask the agent for the first step of your core loop. To see what the agent can do with a running Three.js game, read ai-game.dev/blog/threejs-game-development-with-ai. Keep it small, play it often, and ship it.